Dark Sword Slash VFX
Sword slash & Hit VFX, made using Houdini & Niagara in Unreal Engine 5.4, done in about a week.
The primary inspiration for this effect is Nightblood, a magical sword from the Cosmere books by Brandon Sanderson.
Since the material that provided the inspiration for this effect was textual rather than visual, it was important to me to get a clear concept down before jumping into the engine.
To do this, I started by collecting several passages from the books in which Nightblood appears:
‘…when he had barely gotten a thin sliver of blade free, a dark, fluidlike smoke began to stream out.’ - Warbreaker, chapter 21
’…a jet-black Shardblade that seemed to feed on the smoke, sucking it in, then letting it pour down beneath itself as a liquid blackness.’ - Oathbringer, chapter 117
‘Anyone he so much as nicked popped into black smoke.’ - Oathbringer, chapter 118
With these passages in mind, I created the following concept to serve as the starting point for the effect:

Concept drawing for the slash effect, going over several key poses in the animation.
I started the block-out with a ribbon trail attached to the sword. However, this approach quickly proved ineffective as the high speed of the motion resulted in poor position interpolation for the ribbon particles. This, combined with a slight wobble in the sword’s motion, did not give me the clean arc I was looking for.

So instead of using ribbons I opted for using a single sprite instead. This meant I’d have to achieve a dynamic sword slash effect entirely in a material.
To do this, I wrote a material function that generates a customizable circular arc, which could then be controlled using dynamic material parameters in Niagara.
This function uses the manipulation of radial UV coordinates and linear gradients to output a binary mask of the arc, as well as gradients along the arc’s length & width.
The dripping effect from the sword was achieved using a similar approach. Here, the material function generates a triangle based on the various inputs, such as base direction, point direction, width, and length.
Instead of gradients and other native material nodes, this function primarily uses custom HLSL nodes. The generation of the binary triangle mask uses barycentric coordinates to determine which pixels are inside the triangle, and various distance functions are used to generate additional gradients.
This material function allowed me to create the drip effect on the sword. In order to ensure the movement of the distortion would be continuous and consistent, I opted to rotate the triangle masks that form the basis of the effect, rather than the sprite itself. To achieve this, I input the relative orientation of the particle system into the base direction of the triangle function, and locked the alignment of the sprite to the world Z-axis.
For the animation setup that supports the VFX, I set up two animation montages. I also created several custom notify Blueprints to handle the swapping of the attacker’s sword between different sockets, as well as the visibilty change of the enemy character and the dropping of its sword.
Animations courtesy of the ARPG Samurai pack by KevinAnimation on FAB.
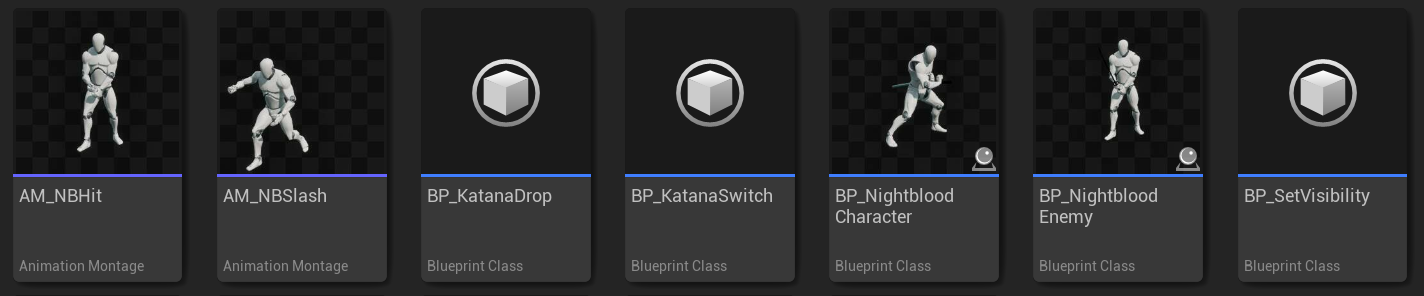
An overview of the various Blueprints & animation montages used for the demo scene.
In total, the effect uses six different particle systems, six unique materials , a 2k RGBA flipbook texture containing four smoke simulations done in Houdini, and a single 512x512 sprite texture.

An overview of all systems, materials, and textures used for this effect.
Finally, some stills of the effect!!


